
From Dual Batteries to Winch Safety—Everything You Need to Wire Your Rig for the Extremes
When you are miles from the nearest paved road, your vehicle’s electrical system is more than just a convenience—it is your lifeline. It powers the navigation that finds the trail, the winch that pulls you out of the mud, and the fridge that keeps your supplies fresh.
However, off-roading is a brutal environment. Constant vibration, heat, dust, and water crossings will expose every weakness in your wiring. A "DIY" job done without professional logic is a fire hazard waiting to happen.
This guide is your A-to-Z blueprint. We have broken down a professional electrical build into five manageable sub-systems. By the end of this guide, you will understand how to design a fail-safe system that performs as well as it looks.
 Phase 1: The Power Foundation (Batteries & Charging)
Every high-performance build starts with a solid foundation of power. You cannot run a fridge, lights, and a winch on a single stock battery without risking a "dead-crank" situation in the middle of nowhere.
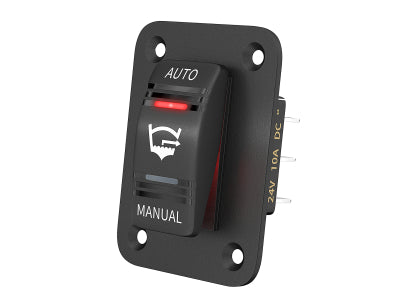
Why You Need a Dual-Battery System
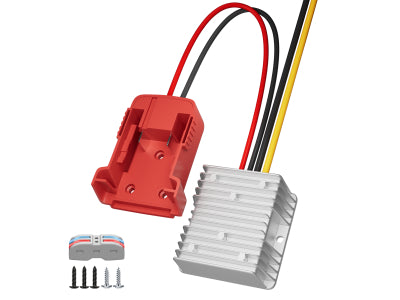
The goal is isolation. You want a "Starting Battery" dedicated solely to the engine and a "House Battery" (often a Deep Cycle or LiFePO4) to run your accessories.
-
The Component: You need a high-quality Battery Isolator or a manual Battery Switch.
-
The Logic: When the engine is running, the alternator charges both. When the engine is off, the isolator separates them. If you leave your lights on all night, only the House Battery dies. Your engine will still start in the morning.
-
Pro Knowledge: Before you start connecting batteries, make sure you understand the Fundamentals of 12V DC Electricity. Knowing your Amps and Volts is the difference between a working system and a melted one.
 Phase 2: Recovery Power (Wiring Your Winch for Safety)
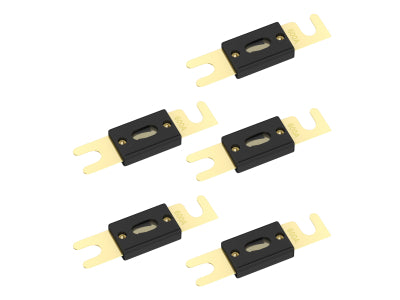
A winch is the single most power-hungry device on your vehicle, often drawing over 400 Amps under heavy load. Most amateurs wire a winch directly to the battery with no fuse—this is an enormous safety risk.
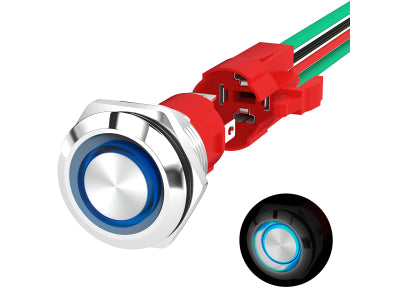
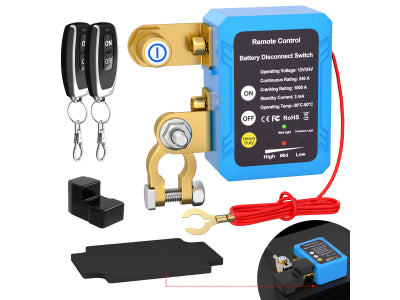
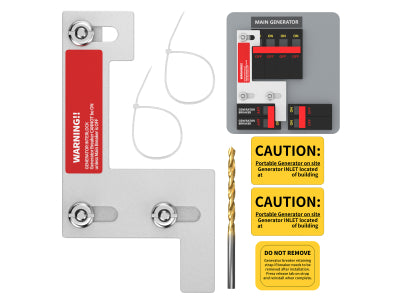
The Safety Barrier: Kill Switches & Breakers
If your winch solenoid "sticks" (a common failure), the winch will not stop pulling until it destroys your bumper or snaps the cable.
-
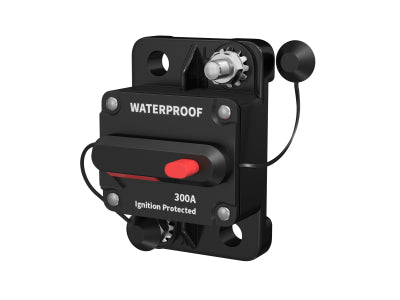
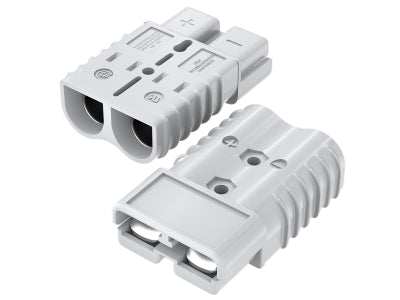
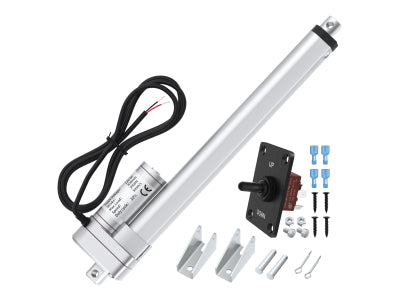
The Component: You must install a High-Current Circuit Breaker or an Emergency Kill Switch as close to the battery as possible.
-
Why it Matters: This allows you to manually cut power to the winch when you aren’t on the trail. It prevents accidental activation and provides a "panic button" during a recovery gone wrong.
-
Pro Knowledge: For high-amperage recovery gear, choosing between a fuse and a breaker is critical. Check our guide on Fuses vs. Circuit Breakers to see why we recommend breakers for winches.

As shown in the installation display, the circuit breaker acts as a safety bridge between your battery and the high-draw winch. Always connect the battery positive to the 'BAT' terminal.
Phase 3: Auxiliary Lighting (Roof Bars, Ditch Lights, & Work Lights)
Lighting is about more than just "looking cool." It’s about trail safety at night. However, lighting is also where most people create a "spaghetti mess" of wires.
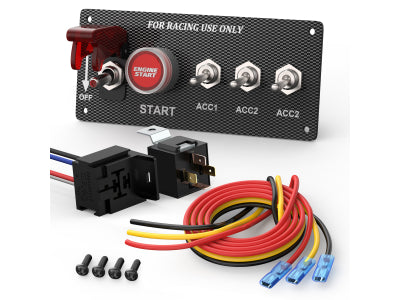
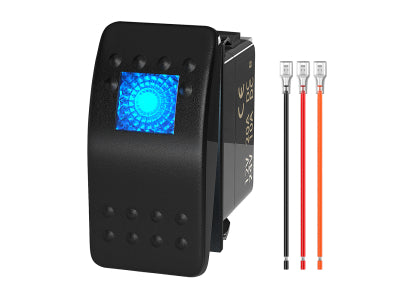
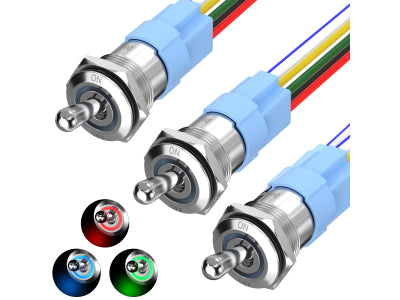
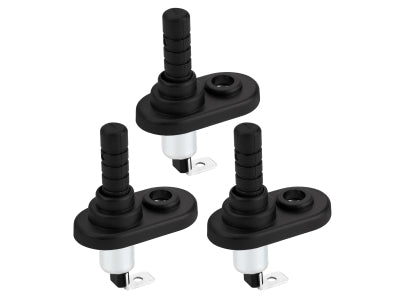
Centralized Control: The Switch Panel
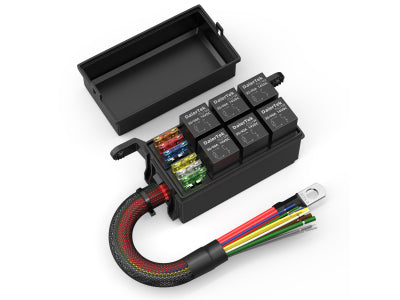
Instead of drilling 5 different holes in your dashboard for 5 different switches, use a centralized Multi-Position Switch Panel.
-
The Logic: All your light bar wires go to a single hub under the hood, and only one small communication cable goes into the cabin to your panel.
-
The Golden Rule: Always use Relays. Never run the high-current power for a 50-inch light bar directly through your dashboard switch.
-
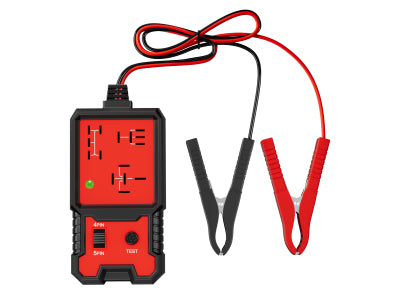
Pro Knowledge: If you don't understand how a relay protects your switches, stop and read our Ultimate Relay Wiring Guide before you blow a fuse.

Phase 4: Off-Grid Living (Fridges, Inverters, & Comms)
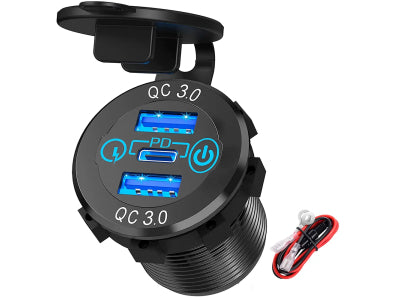
Modern overlanding requires constant power for fridges, Starlink, drones, and comms. This requires a dedicated distribution hub.
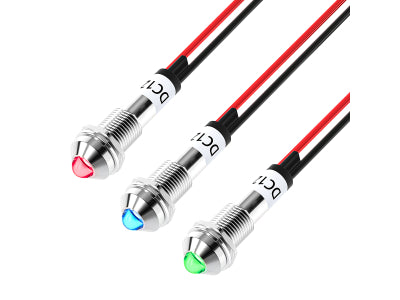
The Distribution Hub: Fuse Blocks
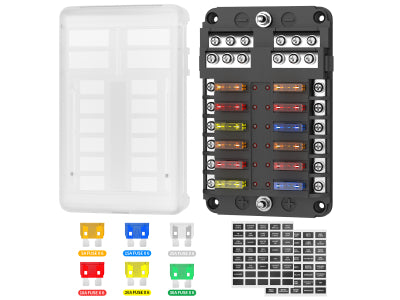
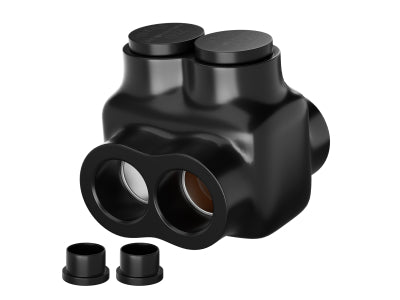
To keep your auxiliary battery tidy, you need a 12-Way Fuse Block.
-
Organization: Every small accessory (USB ports, Fridge, Radio) gets its own dedicated fuse in one central location.
-
Monitoring: Choose a fuse block with LED Indicators. If a fuse blows while you are camping at night, the red LED will tell you exactly which circuit failed without the need for a multimeter.
-
Pro Knowledge: Not all fuse blocks are created equal. Learn How to Choose the Right Fuse Block for your specific project needs.

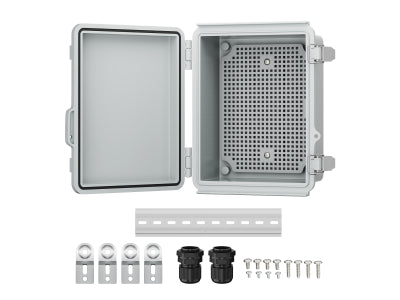
Phase 5: Environmental Sealing (The Enemy: Dust & Water)
In the off-road world, your wiring will be pelted with mud, submerged in rivers, and baked in engine heat.
-
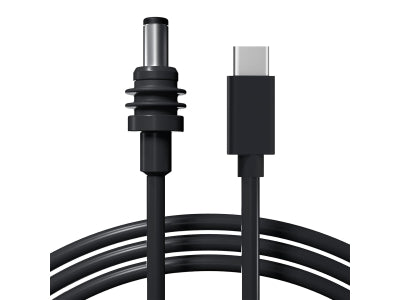
The Standard: Every connector outside the cabin must be sealed. Look for IP67 Rated Components.
-
Pro Knowledge: Do you know the difference between IP65 and IP67? One can handle a car wash; the other can handle a river crossing. See our IP Ratings Decoded Guide to ensure your gear survives the elements.
Conclusion: The "A-to-Z" Build Mindset
A professional 4x4 electrical system isn't built by adding parts one by one; it is built as a cohesive system.
-
Source it correctly (Dual Batteries).
-
Protect it at the start (Circuit Breakers).
-
Control it efficiently (Relays & Panels).
-
Distribute it cleanly (Fuse Blocks).
By following this logic, you don't just build a more capable vehicle; you build a safer one.
Ready to start your build? Browse our Professional Off-Road Collection and get everything you need for a fail-safe installation.


