
From Bilge Pumps to Saltwater Corrosion—A Professional A-to-Z Blueprint for a Reliable Vessel
In the middle of the ocean, there is no such thing as a "minor" electrical failure. A dead battery means you can't start your engine; a failed bilge pump means you're taking on water; and a short circuit in the salt air is a fast track to a fire at sea.
Unlike a car, a boat lives in a perpetually hostile environment. Saltwater is a massive conductor of electricity and an aggressive catalyst for corrosion. To build a marine electrical system that lasts, you need more than just wires—you need an engineering-grade strategy.
This guide is your Master Blueprint. We have broken down the critical systems of a small boat into five essential modules. We will explain the logic, the components, and how to protect your investment from the elements.

How to Wire a Bilge Pump: Manual, Auto, and Off Modes Explained?
The bilge pump is the most critical safety component on your boat. Its job is simple: keep the water out. But the wiring is where many DIY-ers fail.
What is the Best Way to Wire a Bilge Pump?
A professional setup requires a 3-Way Control Switch (MAN-OFF-AUTO) and a float switch.
-
Manual Mode: Bypasses the float switch to pump water out instantly.
-
Auto Mode: Relies on the float switch to activate the pump whenever water is detected.
-
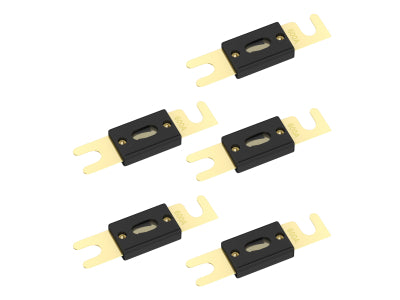
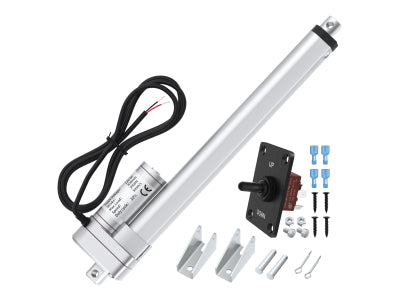
The Pro Logic: For high-capacity pumps, Using a Relay is mandatory. You don't want the high current of a stalled pump running through your dashboard switch.
-
Safety Tip: Always wire the "Auto" mode directly to the battery (with an inline fuse) so it works even when the main battery switch is off.

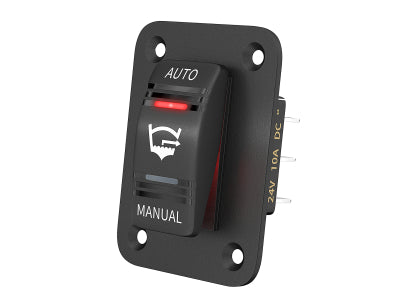
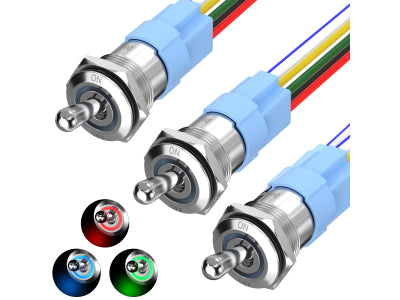
Navigation and Anchor Lights: Ensuring Safety and Legal Compliance
Visibility at night is a legal requirement. You must be able to signal your position and whether you are underway or at anchor.
Why Do You Need Separate Control for Running and Anchor Lights?
When you are moving, you need your Red/Green (Running) lights AND your White (All-round/Anchor) light. When anchored, you ONLY need the White light.
-
The Component: Use a DPDT or SPDT Rocker Switch. This allows one switch to manage two different lighting modes correctly.
-
Environmental Protection: Because these lights are exposed to constant spray, ensure every connection uses IP67 Rated Waterproof Connectors.
-
Pro Knowledge: Learn the difference between SPST and DPDT switches in our Marine Switch Selection Guide.
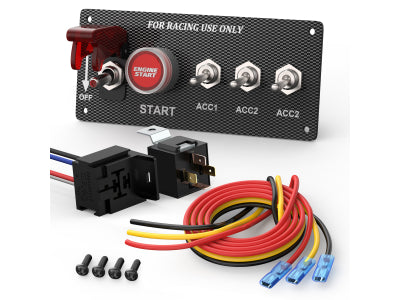
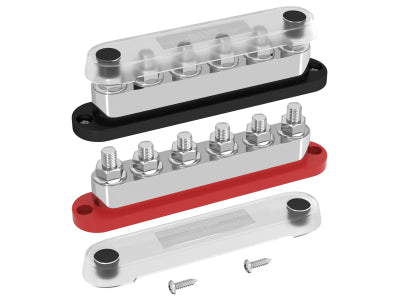
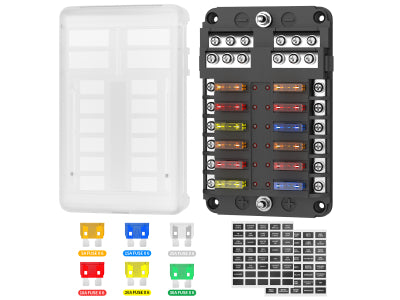
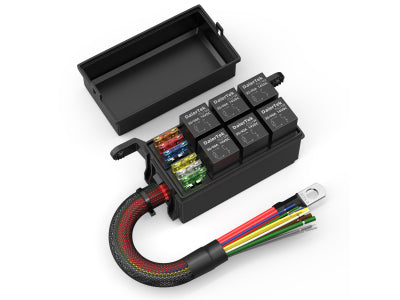
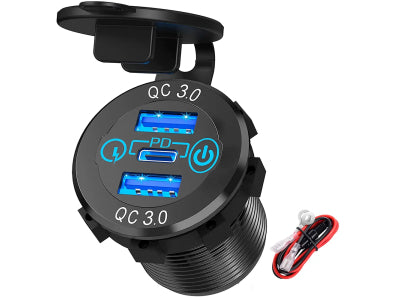
Protecting Sensitive Electronics: Power Panels for GPS, Fishfinder, and VHF
Your marine electronics (Fishfinder, GPS, Radio) are expensive and sensitive to voltage spikes. They need a "clean" and organized power source.
How to Organize Your Electronics Wiring?
Stop crimping multiple wires onto your battery terminals. This creates resistance and heat.
-
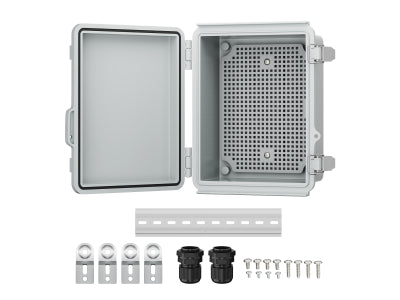
The Component: Install a dedicated Marine-Grade Fuse Block with LED Indicators behind the dash.
-
The Logic: One thick "trunk" wire runs from the battery to the fuse block. Each device then branches off with its own fuse. If your VHF radio has a short, it won't kill your GPS.
-
Pro Knowledge: Choosing the right fuse size is critical for protecting expensive sonar units. See our Fuse Selection Guide for details.

As shown in the blueprint above, a professional marine distribution system isn't just about making wires look neat—it's about building a system that is easy to troubleshoot and impossible to fail. Now that we've organized our accessories, let’s look at the "Master Controller" that protects your entire vessel.
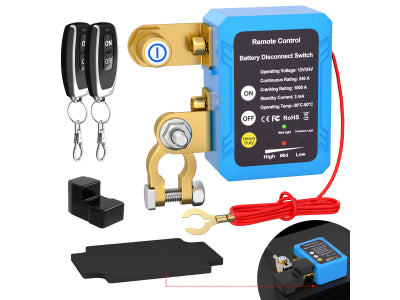
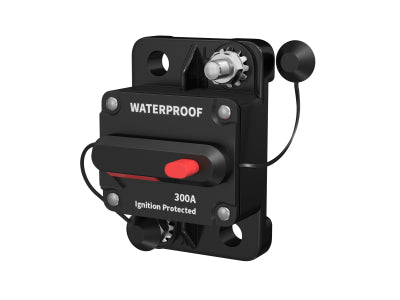
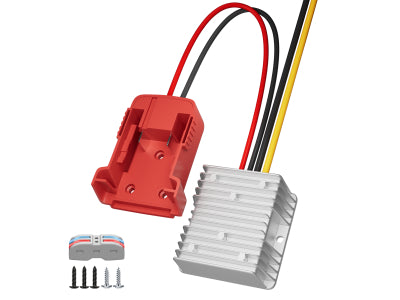
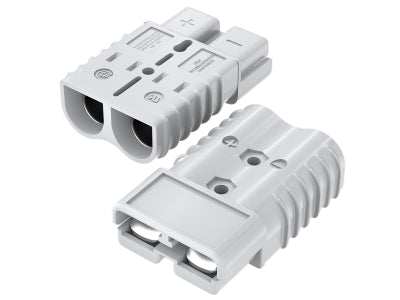
Battery Management: The Main Switch Strategy to Prevent Drain
Nothing is worse than a "dead-crank" when you're ready to head back to the dock.
Why is a Main Battery Switch Non-Negotiable?
A Heavy-Duty Battery Switch is your master control. It allows you to:
-
Completely cut power to prevent "parasitic drain" while the boat is on the trailer.
-
Emergency shut-off in case of an electrical fire.
-
Combine batteries for emergency starting (if using a 1-2-Both switch).
- Learn More: We have a dedicated guide on How to Correctly Install a Main Battery Switch.
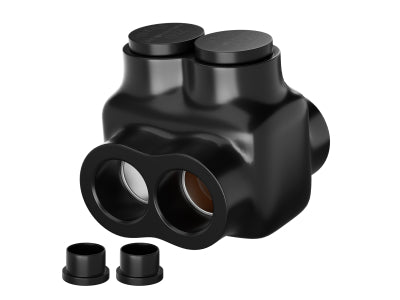
Fighting the Salt: Essential Anti-Corrosion Wiring Techniques
In a marine environment, "normal" wiring will turn into green powder in months. Corrosion is the primary cause of intermittent electrical issues.
How to Build a Corrosion-Proof System?
-
Tinned Copper is King: Only use tinned copper wire and Marine-Grade Terminals. The tin coating prevents the copper from oxidizing in salt air.
-
Seal Everything: Every crimp must be protected by adhesive-lined heat shrink.
-
Dielectric Grease: Apply this to the back of all Indicator Lights and switches to provide a physical barrier against salt spray.
-
IP Ratings: Ensure all exterior panels meet IP67 Waterproof Standards.

A visual warning: Salt air and moisture transform a neglected connection (left) into a high-resistance fire hazard. Professional marine-grade terminals and anti-corrosion grease (right) are the only way to ensure reliability at sea.
Conclusion: Build for the Sea, Not for the Street
A boat is not a car on water. It is a specialized machine that demands a specialized approach to electricity. By following these five modules, you ensure that your bilge pump stays ready, your lights stay bright, and your electronics stay safe.
Ready to upgrade your vessel? Explore our Professional Marine Electrical Collection for the highest-quality tinned terminals, waterproof panels, and heavy-duty switches.


