

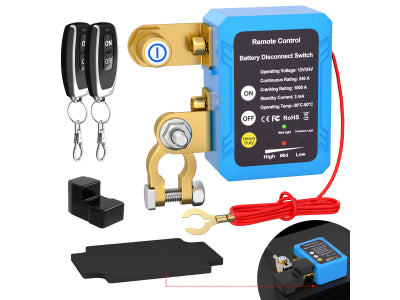
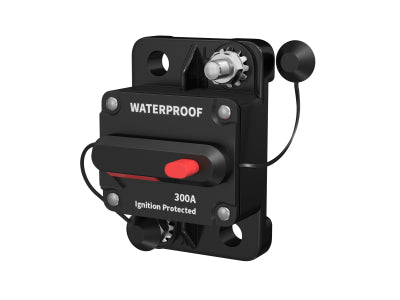
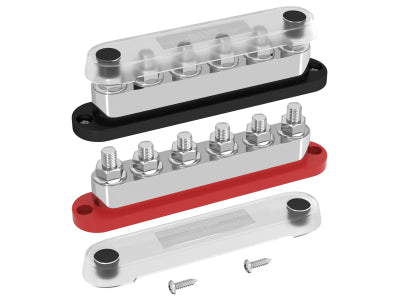
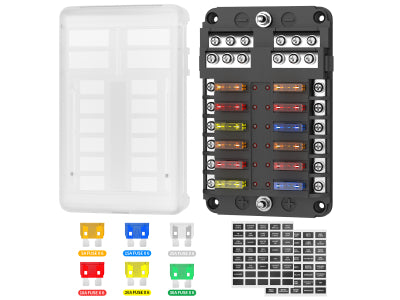
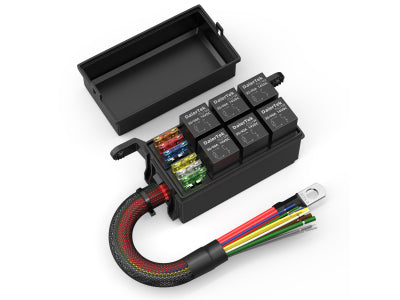
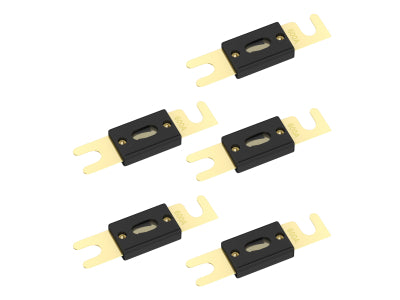
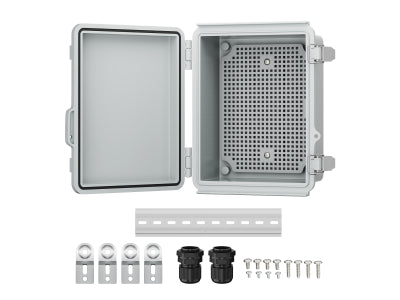
A 12V fuse block protects individual circuits, but it is not the best place to stack every main feed, negative return, and heavy accessory cable. That is where a busbar or power distribution block earns its place.
In a truck, Jeep, boat, or RV, the useful question is rarely “What is the biggest busbar I can buy?” It is: which cables need to meet here, what size lugs do I already use, and what current can this part of the system safely carry?
This guide walks through those checks before you choose a busbar.

What a 12V busbar does—and what it does not do
A busbar is a solid, common connection point. It lets one main cable feed several smaller circuits, or brings several negative returns back to one place.
A typical accessory wiring path looks like this:
Battery → main fuse or circuit breaker → positive busbar → fuse block / individual circuits → accessories
The negative side is usually similar: accessory grounds return to a negative busbar, then back to the battery negative terminal or a properly planned chassis ground.
A busbar does not replace fuses. Each branch circuit still needs its own correctly sized protection. If you are choosing the protection side of the system as well, see our 12V fuse box guide.
1. List the cables that will actually land on it
Start at the vehicle, not at the catalogue. Write down the cables that need a shared connection point—for example:
- the battery feed into a fuse block;
- feeds for a winch control circuit, inverter, or auxiliary battery system;
- negative returns from lights, pumps, chargers, or other accessories;
- a short link between two distribution points.
Count those cables, then add at least one spare position. A busbar that is already full on day one makes the next accessory install unnecessarily awkward.

2. Size the current path, not the vehicle
A 250A or 400A label is not a promise that the whole installation can carry that current. The safe limit is set by the weakest part of the path: the cable, terminals, fuse or breaker, busbar, and the way they are installed.
Estimate the maximum current that can be present at the busbar at the same time, then select the busbar and every upstream component to suit that load. Leave sensible headroom, but do not use the vehicle type as the sizing method. A lightly equipped RV may need less capacity than a work truck with a high-draw accessory system.
For a practical starting point:
- 150A class: compact accessory or negative-return distribution where M6 studs suit the existing lugs.
- 250A class: a common choice for a moderate accessory system, provided the cable and protection are matched.
- 400A–600A class: larger feeds or multiple higher-load branches that genuinely require the extra capacity.
Always follow the rating and installation guidance for the specific product, and protect the main feed close to the power source.

3. Match the stud size before you order
The cable lugs need to fit the studs. This is an easy detail to miss and a frustrating one to fix later. Check both the stud diameter and the number of studs before ordering.
For example, a compact 150A busbar with five M6 studs suits smaller ring terminals, while the 250A four-stud junction busbar is available with larger M8 or M10 stud options. Check the lug hole, cable size, and available space around each stud together—not just the amp rating.
4. Plan positive and negative distribution as a pair
Most builds are easier to diagnose when the positive and negative sides are planned together. The positive busbar distributes protected power. The negative busbar gives accessory returns a predictable route back to ground.
Do not assume every chassis location is an equally good ground point, especially in boats, trailers, or vehicles with long accessory runs. If you use a negative busbar, make sure its main return path is sized for the combined load it carries.

5. Check the installation details that keep it serviceable
- Cover: A protective cover matters where tools, loose metal objects, or accidental contact are possible.
- Mounting: Choose a rigid, accessible surface; avoid unsupported heavy cables pulling on the studs.
- Spacing: Leave room to tighten nuts, fit cable boots, and add another circuit later.
- Labelling: Mark the main feed and any distribution points. It saves time when tracing a fault months later.
Quick match: choosing a DAIER busbar
| What you need | Suitable option |
|---|---|
| Compact distribution with five M6 connection points | 150A small busbar with cover |
| Four-stud distribution with M8 or M10 options | 250A four-stud junction busbar |
| Six M8 terminals for a higher-capacity distribution point | 400A solid copper busbar |
| Six M10 studs for larger cable lugs and higher-current builds | 600A power busbar distribution block |
Before you buy
Choose the busbar after you know the cable count, lug sizes, maximum simultaneous load, and where the part will be mounted. Then match the fuse or breaker, cable, terminals, and busbar as one system. That is a more reliable route to a tidy installation than simply choosing the highest amp number on the page.
Browse our power distribution blocks and busbars or pair your setup with a suitable 12V fuse holder or fuse block.


