

 A multi-gang switch panel suits a build that needs several controls in one clearly defined location. Separate rocker switches suit a build where each control needs its own position, function, or mounting format. Neither layout is automatically better; the right choice depends on the number of circuits, available panel space, wiring plan and expected expansion.
For a straightforward RV, boat, truck or off-road accessory build with several ON/OFF circuits, a grouped panel can create a clean starting point. For a dash retrofit, a compact auxiliary control or a system with mixed switch actions, individual rockers usually provide more freedom. The decision should happen before holes are cut or the first power lead is routed.
Start With the Number and Type of Circuits
Count the accessories that need separate control, then separate simple ON/OFF functions from functions that need something different.
A panel layout is usually a strong match when several accessories sit in the same area and use similar controls: interior lights, deck lights, a water pump, fans or auxiliary sockets are common examples. A four-, six- or eight-gang panel keeps those controls together and makes labels easier to scan.
Separate rockers are often the better fit when only one or two circuits are being added, or when the controls need to live in different locations. A rocker near a rear work light, for example, does not need to occupy the same surface as a front accessory control. Individual switches also make it easier to combine standard ON/OFF, momentary and ON-OFF-ON functions within one build.
Circuit count alone is not enough. A six-gang panel does not mean six arbitrary loads can be connected without reviewing the panel specification and each circuit's protection requirement. Switch function, voltage, current rating, terminals and the rest of the circuit must match the actual accessory and installation plan.
Choose a Switch Panel When a Central Control Zone Makes Sense
A switch panel creates one control zone instead of a row of unrelated controls. This is useful when the mounting surface is available and the goal is a consistent, labeled installation.
Many panel models also reduce the number of separate pieces that must be selected. Some are pre-wired internally, while more integrated control-panel systems may include a separate relay or control box. Those are different product designs, so installation expectations must come from the specific product page rather than the word “panel” alone.
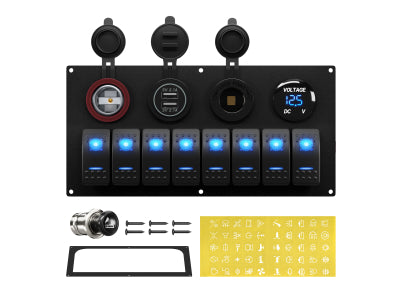
The Rocker Switch Panel collection includes conventional multi-gang rocker panels as well as relay-system panels. The 6 Gang Rocker Switch Box with PD & QC3.0 Dual USB Charger combines six latching rocker controls with USB charging and a voltage display in a surface-mount enclosure. It is a practical format where a compact, single mounting location is planned; check its product page for dimensions, rear clearance and wiring details.

A centralized rocker-switch box can combine several simple controls with charging and monitoring functions in one location.
A grouped panel is particularly useful when the following conditions are true:
- Several circuits need simple controls in one location.
- The build benefits from consistent labeling and a uniform appearance.
- A suitable flat mounting surface and rear clearance are available.
- The product's included features, switch functions and wiring arrangement match the plan.
- Future circuits are likely to be added in the same control zone.
An eight-gang panel can be useful for a larger build, but only if the extra positions have a real purpose. Empty positions are helpful only when they leave genuine room for later expansion; a larger panel should not be selected merely to fill dashboard space.
Choose Separate Rockers When Layout Freedom Matters More
Separate rocker switches make sense when the control layout needs to follow the vehicle, console or equipment rather than a rectangular panel. A single switch can be placed close to the equipment it controls, integrated into an existing dash opening, or mounted in a custom enclosure.
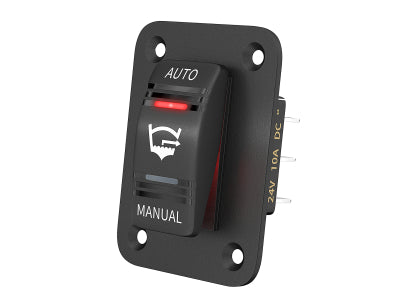
This route also gives more choice in switching action. A standard ON/OFF rocker may work for an accessory light, while a momentary or polarity-reversing control may be required for another component. One fixed multi-gang panel is not always the best starting point for mixed functions.
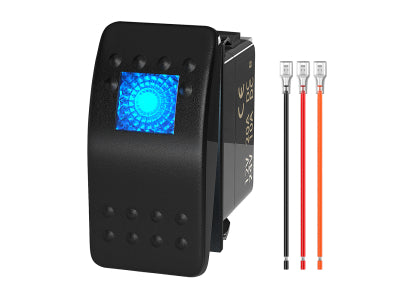
The Rocker Switch collection provides individual designs with different terminal counts, illumination styles, switch functions and mounting formats. The RV Boat 20A 12VDC Dual LED 5 Pin ON OFF Marine Rocker Switch is one example of a 5-pin ON/OFF rocker with selectable LED colors. A single rocker is a direct route for one compatible circuit, but the 5-pin terminal layout still needs to be checked against the required illumination and wiring arrangement.

Individual rockers allow controls to be placed where each function is needed.
Separate rockers are usually the stronger layout when:
- Only one or two controls are being added now.
- Controls need to be spread across different mounting locations.
- Existing dash cutouts or custom enclosures define the available space.
- The build requires mixed actions such as latching, momentary or ON-OFF-ON.
- A later change may require replacing one control without redesigning the whole panel.
More flexibility also means more responsibility for the final layout. Switch spacing, labels, terminals, wire routing and the mounting method all need individual planning.
Compare the Mounting Space Before Ordering
The visible front face is only part of the fit check. Measure the usable front surface, rear depth, terminal clearance and the route for wires before selecting either layout.
A multi-gang panel uses one larger opening or mounting footprint. This can look tidy on a flat console, but it may not suit a curved dash, a narrow sidewall or a location crowded by structure behind the surface. Panel dimensions vary by model. The 12-24V Waterproof Pre-wired Blue LED 8 Gang Rocker Switch Panel, for example, lists an 8.9 x 4.32 in panel size and 5-pin switches. Its size and rear wiring arrangement need confirmation against the intended installation area.
Individual rockers require smaller cutouts, but several rockers still need enough spacing for terminals and hands. A row of separate switches can become harder to service than a panel if the backs of the switches are packed too tightly. The product-specific mounting drawing is the final reference for any cutout decision.

Wiring Convenience Is Not the Same as Circuit Protection
Pre-wired panels can simplify the internal connections between their switches and shared functions. That convenience does not remove the need to plan the power feed, circuit protection, return path and load-side wiring.
Some panels have integrated protection, some use an external fuse or breaker, and relay-system panels use a different architecture from conventional rocker panels. Individual switches likewise may be wired directly in an appropriate control circuit or used to control a relay, depending on the load and product design. No general rule safely covers every accessory.
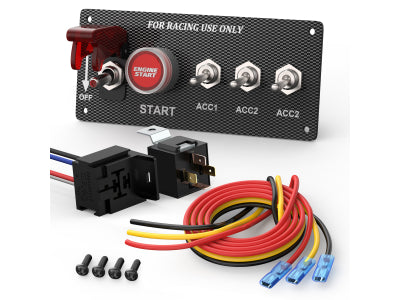
The Multi-Color 8 Gang Switch Panel System with Relay Box is an example of the relay-system route: the user-facing panel, relay control box, harness and circuit breaker are separate system components. Treat this as a different installation path from a conventional pre-wired rocker panel, and plan the mounting locations and wiring route for all supplied components together.

A relay-system panel requires planning for both the user-facing control panel and the separate control box.
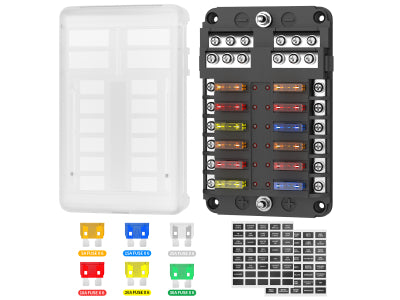
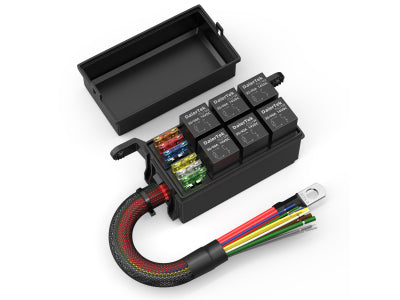
Protection should be selected for the actual circuit and installed according to the applicable product instructions and system requirements. Do not bypass a fuse or rely on a switch rating alone as the protection plan. When a build contains several added accessories, a properly organized fuse block or fuse-and-relay box often makes service and future troubleshooting easier.
For a broader look at panel formats and feature choices, see Choose the Perfect Marine Switch Panel. That guide focuses on choosing a panel; this comparison focuses on deciding whether a panel is the right layout at all.
Plan for the Next Two Accessories, Not Just the First One
A layout chosen around one current accessory can become untidy after a second and third circuit are added. The useful question is not “How many accessories exist today?” but “Which controls are realistically likely to be added in the same area?”
For a build likely to gain several grouped accessories, leaving spare panel positions can keep labels, wiring and control locations consistent. For a build that may expand in unrelated areas, individual rockers can avoid reserving a large central panel for controls that will never sit together.
Expansion should never be treated as permission to overfill a power feed or protection system. Any additional circuit still needs its own load assessment, compatible components and correctly planned protection.
A Quick Layout Decision
Choose a switch panel when the build has multiple simple circuits, one appropriate control surface and a benefit from centralized labels and features. Confirm whether the selected panel is pre-wired, whether it includes any protection, and whether the switch functions suit every planned circuit.
Choose separate rocker switches when the build has few circuits, mixed switch functions, existing cutouts or controls that belong in different locations. Match every rocker to its required function, terminals, mounting dimensions and circuit requirements before installation.
The most durable layout is the one that leaves access for service, makes every control easy to identify and keeps protection decisions separate from cosmetic convenience.
FAQ
Are all switch panels pre-wired?
No. Some conventional rocker panels are pre-wired internally, while relay-system panels and customized panel arrangements may use a different connection method. The product page and technical information for the exact model should be checked before planning the installation.
Can separate rocker switches be used with a fuse box?
Yes. Separate rocker switches can be part of a protected accessory system, but the exact arrangement depends on the accessory, switch function, relay requirement and system design. A fuse box does not replace the need to verify the switch and circuit details.
Is a larger panel always better for future upgrades?
No. A larger panel only helps when the available mounting space, power plan and likely future circuits justify it. Separate controls can be the cleaner choice when future accessories will be installed in different areas.
Related DAIER Products
- Individual ON/OFF control: RV Boat 20A 12VDC Dual LED 5 Pin ON OFF Marine Rocker Switch — a separate illuminated rocker for a compatible single-circuit application.
- Conventional centralized layout: 12-24V Waterproof Pre-wired Blue LED 8 Gang Rocker Switch Panel — an eight-switch option for one centralized control area; verify dimensions, terminal arrangement and circuit plan.
- Centralized controls with added functions: 6 Gang Rocker Switch Box with PD & QC3.0 Dual USB Charger — a surface-mount six-gang rocker box with charging ports and a voltage display.
- Relay-system control: Multi-Color 8 Gang Switch Panel System with Relay Box — an eight-circuit control system with a separate relay control box; confirm the complete installation layout before ordering.


