

A 12V socket can stop working without any warning. A phone charger stays dark, a tire inflator will not start, or a GPS loses power as soon as the plug is moved. The socket itself may be worn, but it is not the only possible cause.
Before replacing anything, check whether the problem follows the accessory, the outlet, or the vehicle circuit. A few simple checks can usually point to the right next step.
1. Is It the Socket or the Accessory?
Start with the item plugged into the outlet. Test that charger, compressor or adapter in another known-working 12V socket when one is available. Then try a known-working, low-draw accessory in the suspect socket. This separates an accessory failure from a power-outlet failure without taking the dashboard apart.
Also check the vehicle operating mode. Some outlets are always live, while others receive power only in ACC or with the ignition on. Front and rear outlets may use separate circuits. The owner manual is the right place to confirm the arrangement in a particular vehicle.
What the symptom can tell you
- One accessory does not work in any outlet: start with the accessory or its plug.
- Other accessories work, but one socket stays dead: focus on that outlet, its fuse and its rear connection.
- Several outlets are dead: check for a shared fuse or the required ignition setting.
- Power returns only when the plug is held in one position: inspect plug fit and socket contact.
2. Check Plug Fit and Contact
A plug can sit in the socket without making firm contact. With the power off, use a flashlight to check for dirt, a foreign object, bent contact surfaces or corrosion. Do not reach inside with a metal tool.
If the accessory cuts in and out when the plug is gently repositioned, compare it with another plug. A worn plug tip, weak side contacts or a socket that no longer grips the plug can all create an intermittent connection. A heavy adapter hanging from the outlet can make the problem worse.
3. Check the Correct Fuse

Check the plug contact, the correct fuse and the rear terminals before replacing a 12V accessory socket.
If the socket remains dead, use the owner manual or fuse-panel chart to locate the fuse assigned to that power point. Some vehicles label it POWER OUTLET, CIG, AUX PWR or a similar name.
Replace a failed fuse only with the same type and rating specified for that circuit. A larger fuse does not repair an overload or short; it removes part of the circuit protection. If the replacement fuse opens again, disconnect the accessory and stop troubleshooting until the cause is found.
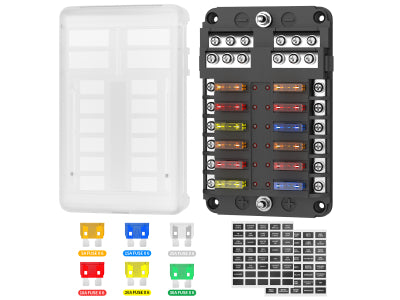
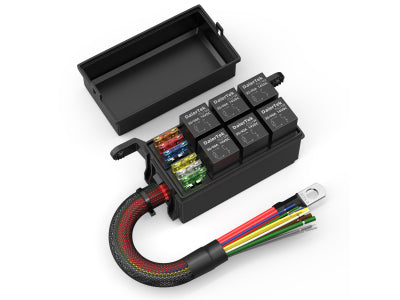
For a broader explanation of protected accessory circuits, see the 12V fuse box buying guide.
4. Inspect Rear Terminals for Heat Damage
When the socket can be accessed safely, inspect its rear terminals with the circuit de-energized and follow the vehicle manufacturer service procedure. Look for a loose push-on connector, corrosion, cracked insulation, darkened terminals or softened plastic around the socket body.
Heat damage is not only cosmetic. A loose connection can add resistance, while an accessory that exceeds the outlet capacity can overload the circuit. Replacing the socket without correcting the cause can bring the same failure back.
5. When Replacement Makes Sense

Confirm the mounting opening, installation depth and terminal arrangement before replacing a 12V accessory socket.
Replacement is reasonable when the socket body is cracked, the plug will not stay seated, the contacts are badly corroded, or the terminals show permanent heat damage. Before ordering, confirm four details: the vehicle system voltage, mounting-hole diameter, available depth behind the panel, and terminal or wiring arrangement. A round socket may look similar from the front but still use a different cutout, body length or connector style.
For a direct replacement, compare options in the Cigarette Lighter & Parts collection. If the project also needs USB charging, see the 12V USB charger guide.
Quick Fault Path
Check the accessory first. Then confirm whether the outlet should have power with the ignition off, in ACC, or with the vehicle running. If the socket is still dead, inspect the correct fuse and look for loose or heat-damaged terminals. Replace the outlet only after the rest of the circuit has been ruled out.
Frequently Asked Questions
Why does my 12V socket work only with the ignition on?
Many vehicles switch the outlet through ACC or ignition power so it is not live when the vehicle is parked. Check the owner manual for the intended operating mode before treating it as a fault.
Can I use a larger fuse if the original one keeps blowing?
No. Use only the type and rating specified for that circuit. A repeatedly blown fuse points to an overload, short, damaged wiring or an accessory problem that needs to be found first.
Related DAIER Products
Choose the product that matches the repair or upgrade stage. Confirm mounting size, input voltage and wiring arrangement before ordering.
- Car 120W 12V Cigarette Lighter Socket Power Socket Outlet (DR-Y6) — direct replacement for a damaged or worn standard outlet.
- Cigarette Lighter Socket 12V Power Outlet Socket With Cover (DR-Y5) — a covered outlet option for more protected car, RV or marine mounting locations.
- Pre-wired Dual QC3.0 USB Charger and Cigarette Lighter Socket Panel — a combined replacement and charging upgrade when one panel location needs both functions.
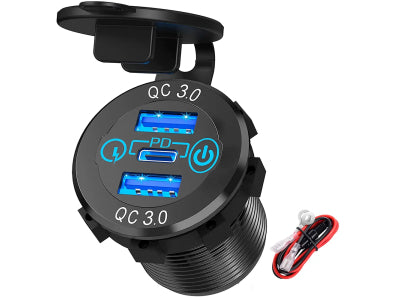
- 48W PD&QC3.0 Dual Outlet 12V Car Charger Socket With Switch — an upgrade option when USB-C and USB-A device charging matters more than retaining a standard accessory socket.
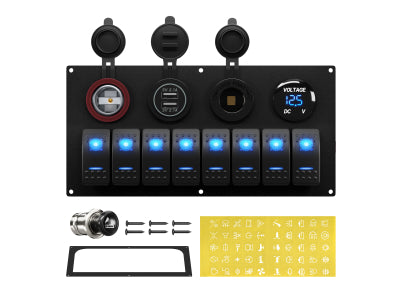
- Aluminum Boat 6 Gang Rocker Switch Panel with Dual USB Socket — a higher-capacity panel upgrade for a boat or RV project that also needs accessory switching and organized charging.


