

A Step-by-Step Blueprint to Creating a Custom, Heavy-Duty Energy Hub for Camping, Fishing, and Emergencies
In a world of "off-the-shelf" portable power stations like Jackery or EcoFlow, there is still one major problem: they are expensive, difficult to repair, and often not rugged enough for true outdoor abuse. For the serious outdoorsman, the hunter, or the offshore fisherman, there is a better way: Building your own DIY 12V Power Box.
By building your own unit, you gain three massive advantages:
-
Customization: You decide exactly how many USB ports, 12V sockets, and Anderson connectors you need.
-
Repairability: If a switch breaks or a battery fails, you can swap it in minutes. You aren't stuck with a "black box" that has to be thrown away.
-
Cost-Efficiency: You get a much higher battery capacity for your money by sourcing the battery and high-quality components separately.
This guide provides a professional A-to-Z blueprint to help you build a power station that is tougher and more capable than anything found in a retail store.

What Are the Essential Components for a DIY Power Box?
Before you pick up a drill, you need to gather the right "ingredients." A reliable power box is built on layers of quality.
1. The Core: The Battery and the Box
The heart of your build is the battery. We recommend a LiFePO4 (Lithium Iron Phosphate) battery for its lightweight and long life, or a Deep Cycle AGM battery for a more budget-friendly, heavy-duty option.
-
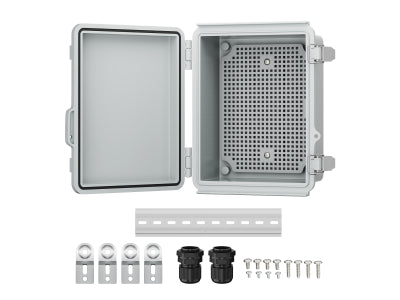
The Container: You need a high-impact, weather-resistant battery box or a heavy-duty ammo can. It must be large enough to house the battery and leave room for internal wiring.
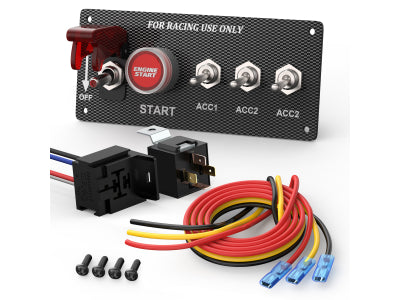
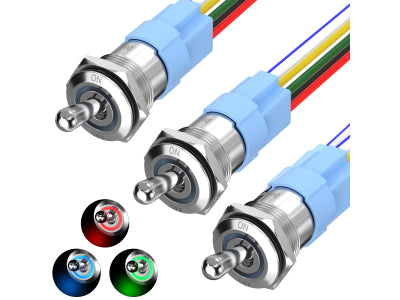
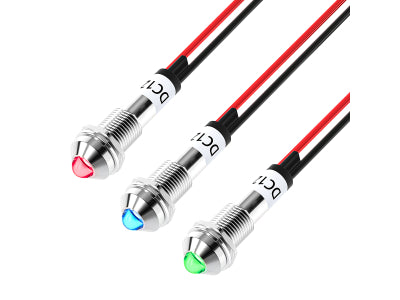
2. The Faceplate: Your Control Center
This is where the magic happens. You will need a variety of inputs and outputs:
-
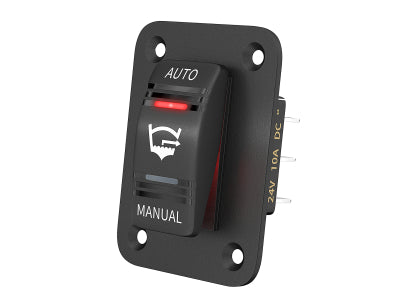
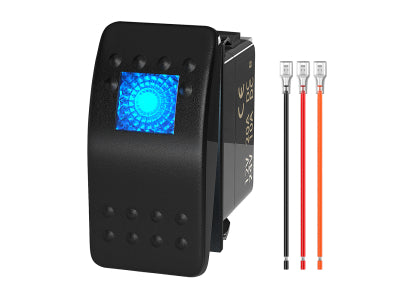
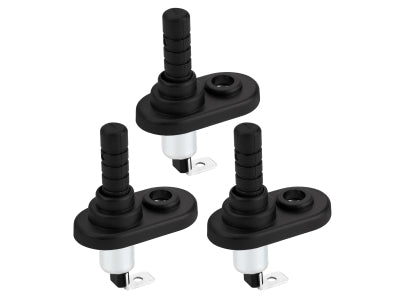
Marine-Grade Switch Panel: To turn individual circuits on and off.
-
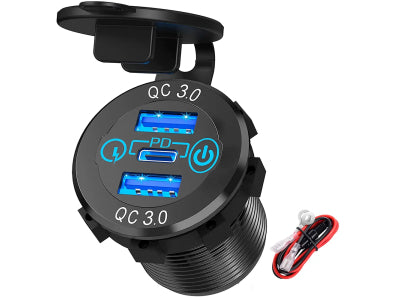
USB-C & USB-A Ports: For modern electronics.
-
12V Cigarette Sockets: For fridges and fans.
-
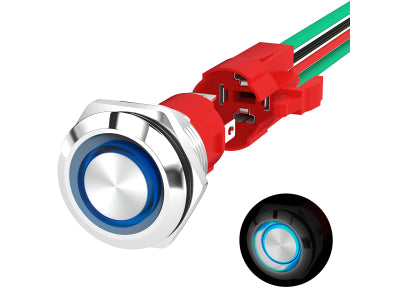
Digital Voltmeter: Crucial for monitoring battery health in real-time.
-
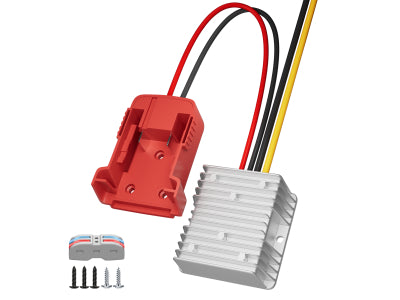
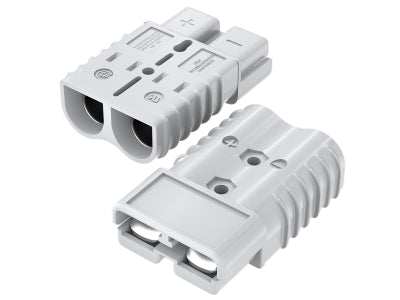
Anderson Connectors: For high-current charging (like solar) or running air compressors.
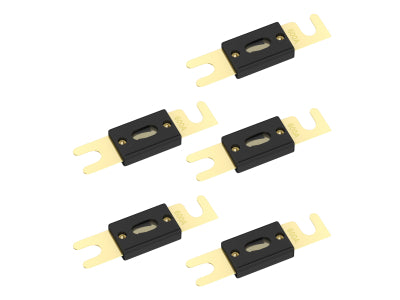
3. Internal Protection: The "Safety Net"
Never wire directly to the battery without protection.
-
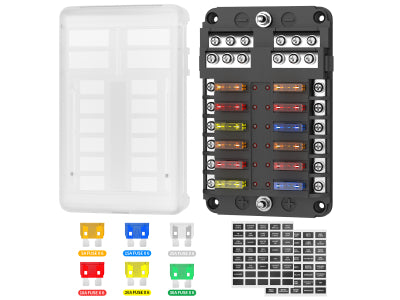
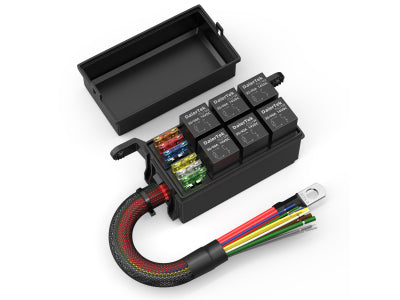
Compact Fuse Block: To organize all your positive connections.
-
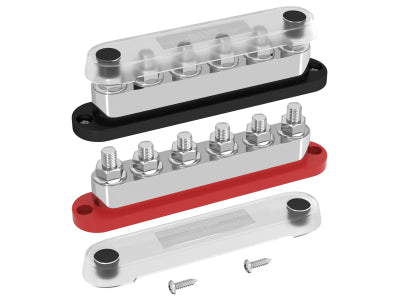
Bus Bars: To manage your ground (negative) connections cleanly.
-
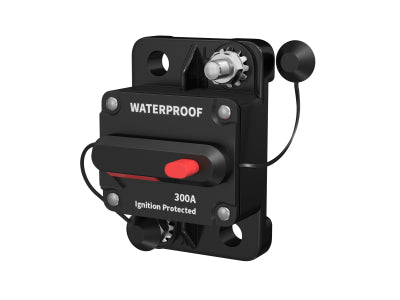
Master Circuit Breaker: To protect the entire system from a catastrophic short circuit.

How to Design the Perfect Layout (The Planning Phase)
The biggest mistake in DIY builds is rushing the drilling process. You want your power box to be ergonomic and balanced.
-
Visualize the Use Case: If the box will sit on the floor of a boat, place your ports on the top. If it will sit on a shelf in your van, place them on the front.
-
Template Your Holes: Use masking tape on the outside of the box. Trace your switch panels and sockets onto the tape. This prevents the plastic from cracking and gives you a clear guide for drilling.
-
Check Internal Clearances: Before you drill, ensure the back of the sockets won't hit the battery inside.
-
Pro Tip: Leave space for a handle. A 50Ah battery is heavy; you need a solid grip to move it.
Step-by-Step Build: How to Wire Your Power Box Like a Pro
Now, we move to the technical execution. If you need a refresher on basics, read our guide on 12V DC Fundamentals.
Step 1: Mounting the Components
Use a hole saw or a step-drill bit to create the openings for your sockets and switches. Mount them securely using stainless steel hardware to prevent rust.
Step 2: Installing the Distribution Hub
Inside the box, mount your Fuse Block and Bus Bar. We recommend using heavy-duty VHB tape or small bolts to secure them to the internal walls of the box.
Step 3: The Wiring Loom
-
The Negative (Ground) Path: Connect the negative terminal of every socket (USB, 12V, Voltmeter) to your central Bus Bar. Run one thick wire from the Bus Bar to the negative terminal of the battery.
-
The Positive (Power) Path: Run a wire from the battery's positive terminal to your Master Circuit Breaker. From the breaker, run to the input of your switch panel.
-
Individual Protection: From the switches, run wires to your fuse block. Each accessory should have its own fuse. This is critical—if your USB charger shorts out, your fridge should keep running.
-
Learn More: If you are confused about how to manage high-power loads, see Daier Ultimate Relay Wiring Guide.

Why Safety Must Be Your Top Priority
Building your own power station means you are the lead engineer. Safety rests on your shoulders.
-
Wire Gauge Matters: Using thin wire for a high-draw Anderson plug can cause the wire to melt. Always refer to a wire gauge chart.
-
Fuses are Non-Negotiable: A 12V battery stores a massive amount of energy. A short circuit without a fuse can lead to an immediate fire. Ensure every circuit is fused. Learn more in Daier Fuses vs. Circuit Breakers Guide.
-
Seal the Entry Points: If you plan on using this near water, use IP67 Rated Switches and apply a bead of silicone around the mounting holes to keep the internals dry.
How to Add Advanced Features (Solar & Inverters)
Once you have the basics down, you can make your power box truly "world-class."
-
Solar Charging: Add a dedicated Anderson plug connected to a solar charge controller. Now, your box can recharge itself while you fish or camp.
-
AC Power: If you need to charge a laptop, you can mount a small 300W inverter to the side of the box. Just ensure you have enough ventilation to prevent overheating.
-
Lighting: Many builders mount a small LED Work Light directly to the box. This provides an instant area light for your campsite.

Conclusion: Empowerment Through DIY
Building a DIY Power Box is more than just a weekend project—it is an investment in self-reliance. When you finish, you don't just have a tool; you have a piece of equipment that you understand, can maintain, and can trust in the wild.
Stop buying "throwaway" electronics. Build something that lasts.
Ready to start your build? Browse Daier collection to find the professional-grade switches, fuse blocks, and terminals you need to build a masterpiece.


